Below is the final product of all my hard work. This has been months in the making and I could not be more proud of the finished product. I hope you enjoy!
Creative Critical Reflection
http://www.podcasts.com/aice-media-studies-381b44b3f
Pasted above is my CCR for my movie. Basically my CCR is a podcast reflecting on the film making process and includes thoughts and information that I did not manage to include in my blog. Thank you!
More On Sound!
What a difference sound makes in a film! While we started editing sound with a vague plan of how we would proceed, there were constantly new ideas being thought of for how our sound could be improved.
Official Soundtracks
These are the two soundtrack we used for our film. Both videos are recordings of stereo typical horror movie sounds, however the first clip is only 2 minutes while the second clip is over an hour long.
When working with the shorter clip, we only used the first 15 seconds for the last part of our film because this had the most dramatic effect. These few seconds featured a very dramatic rise in pitch and was perfectly matched with our female protagonists scream.
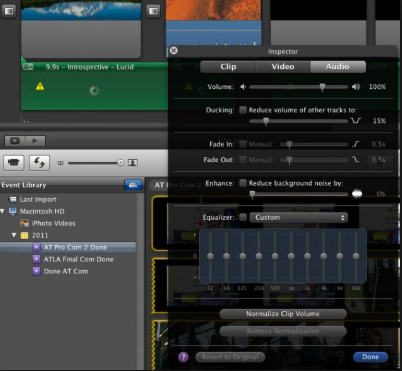
From the second soundtrack, we recorded approximately 60 seconds from it and used that for the entire second half of the film. Putting this track in correctly was difficult because we needed to be sure that it would sound good with the sounds of footsteps and city traffic that we already had in the film. In order to make all the different tracks work together cohesively, we changed the volume levels on each track several times until it sounds just right.
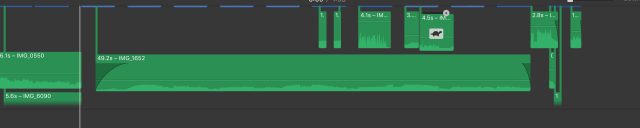
In the screenshot shown above, you can see the one long recording of sound that we put in towards the end of the film, which helps allude to the girls capture.
The Progress I Have Made
Where We Are At Currently
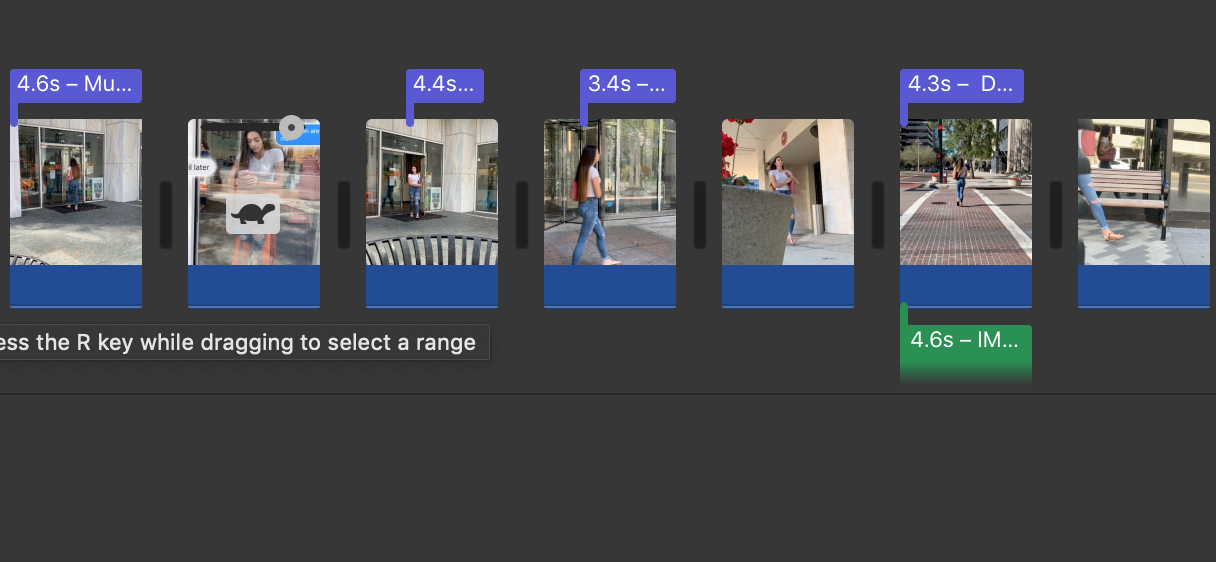
We are approximately 80% done with the editing process! We have assembled our rough cut, which involved figuring out what shots were valuable enough to use, the placing the shots in sequential order. In order to preserve continuity, we prerecorded voicemails and put in text conversations which explains why it went from light to dark so quickly. We inserted the necessary transitions and subtitles, then ended our clip with a dramatic title. Color correction was a simple fix, and now all we have left to do is the sound track and inserting ambient sounds! We saved this part of the editing process for last because sound will have the greatest impact on the feel of our movie. We have already found several soundtracks that we might use in our film, but we still need to figure out what parts of the clips to use and where to put them in.
Difficulties and Revisions
- Subtitles were tricky at first because black subtitles would not show up in certain shots, so we ended up having red subtitles that were outlined in black so the words were clear in every scene.
- Because our goal was have the duration of our title sequence not exceed 2 minutes, we ended up shortening most of the shots by 1 or 2 seconds each in order to fit this time. This is harder than we thought it would be considering 1 or 2 seconds can convey a lot of meaning or give viewers necessary information.
- Finding horror movie sounds with the right vibe also proved to be difficult because while it is a common assumption that all horror movies have relatively the same soundtrack, the individual sounds that make up a soundtrack differ profoundly from one movie to the next.
What Others Thought

Titles, Effects, Transitions…
Font Styles
Choosing the fonts styles for our title and opening credits was mainly my job. Originally when researching I thought Helvetica would be the most effective font to use, but after putting it in I realized that it was not dramatic enough for the theme of our movie, especially considering it appears onscreen directly after a sound bridge of Jenna screaming.

I ended up choosing Footlight MT as a font, because it provides a more dramatic and creepy effect. However, we still incorporated a white font against a black screen, which is what was the most similar to all the films I have researched.

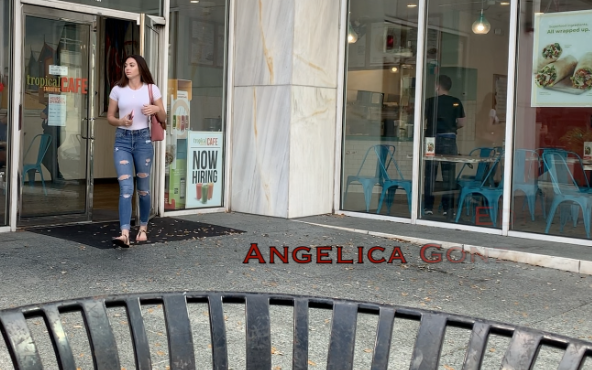
For our opening credits, I decided to go with the font Copperplate, in burgundy with black outlining because it shows up clearly and goes with our films serious and eery tone.
Effects
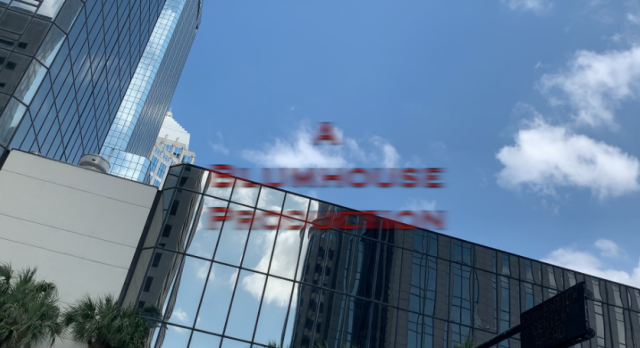
We did not want our titles to just appear on the screen and go away. Every aspect of a movie should do its best to communicate the overall tone, so we wanted a unique effect that would match or creepy mood. For the credit to our production company in the establishing shot of our film, we had inserted the effect. Because it is the first thing viewers see, this automatically makes them aware of our films genre. The rest of the opening credits in our movie, we used the slip effect, which makes the title slowly fade out. All our clips are a little slowed down in order to build up suspense leading up to the kidnapping scene, so this slow fading away of the title is perfectly in sync.
Transitions
We did not use many transitions when filming because we both believed that iMovie transitions would make the film appear cheap. The only transition we ended up using was a fade to black right after Jenna’s terrifying scream, because this hardly noticeable transition helps the flow of our movie and does an excellent job of presenting the title.
Sources:
http://mentalfloss.com/article/21028/5-film-transitions-worth-knowing
My Contribution
In addition to choosing fonts and the soundtrack, I was the director of the film.
While my partner was the cinematographer and took charge of filming with her iphone, I was in charge of close-up shots due to her hands being to shaky to get a quality shot. I directed the film by deciding what kind of shots would best communicate the tone and message we were trying to send. This included explaining to her what angles and distances would look better and attempting to visualize our original screenplay. For most of the production process she would film a few seconds of Jenna acting out a scene, and I would decide if we needed the same shot from another perspective. My partner recorded all the ambient sounds for the film and decided where to put them. I also chose the font styles for our movie, and spent several days researching various soundtracks which we could overlay and put into our film. After finding several quality videos of suspenseful sounds, I showed them to my partner and we agreed on how to edit them in. While me and my partner had an equal say in all the editing decisions, she was the official editor because she is more accustomed iMovie and has the most knowledge on how to use the tools it makes available. Costuming was something me and my partner decided together, but she was the production designer as well because of her role in figuring out other areas of mise-en-scene, such as blocking, framing and lighting.
Color Correction and Sound
Sound
Our rough idea is that we will begin the clip with mostly ambient sounds as the camera shows her from an omniscient perspective. We figured out that by pre-recording sounds, we can turn them into an mp3 and layer them over our shots, so when editing we will add in leaves rustling and cars passing to help create a less suspicious or creepy effect in the first few shots.
However, the mood will quickly shift with the change of perspective going from omniscient to the antagonist as he stalks her from across the street. As the film shows a dramatic push in to Jenna as she sits on a bench, a creepy soundtrack will begin to play, making it even more obvious that she is being watched.
The ending is where sound will really be the final touch and will hopefully leave viewers completely shook up. In the final moments of our clip, our protagonist being dragged behind an alley in one fluid motion will be perfectly synced with the jarring echo of her terrified scream. Like I mentioned in my earlier blog post, we recorded this sound by having Jenna scream into an empty parking garage.
Color

Color saturation or lack thereof is also important when editing. The daytime shots will be edited to have a less sunny feel to them in order to portray the negative connotations of the film. Making everything more grayish and without color will foreshadow something bad happening later on. For clips that were to bright and overexposed, we lowered the saturation to in order to add the grayish effect. We also took out the light by adjusting the exposure darker to fit the overall theme.
Sources: https://blog.frame.io/2018/05/21/premiere-lumetri-guide/
Edit to Create Meaning
Editing is probably the most important aspect of creating a film. While all parts are important, such as cinematography and acting, editing can take the same film in a million different directions. You can take a series of shots, and depending on how you put them together and what sound you use, they have the potential to become both a terrifying thriller or a jokey comedy. Editing takes into consideration color, sound, transitions, filters, effects, titles, etc. Without all these additions, the film would have a completely different mood and be void of meaning.

While our rough cut makes our movie look like we are just filming Jenna walk around, with editing it will be made obvious that she is being followed. Through the use of editing tools such as the Ken Burns effect and sound, Jenna will appear to viewers as incredibly vulnerable and easily susceptible to evil.
Sound especially will be very significant in our film in explaining the transition between when she is just a normal girl to when she is a predators next prey. It will also help to explain the change from daytime to night throughout our title sequence.
As an editing software for our film my partner and I are using iMovie. My partner will be the main editor throughout post production because she has owned a Macbook for several years and is well accustomed to how iMovie works.
Source:
http://www.elementsofcinema.com/editing/kuleshov-effect-and-juxtaposition/
Aha Moments
There were many significant moments throughout filming where we discovered something new, things both good and bad. One thing we had to be very careful with and learned to work around was making sure that if we filmed Jenna in front of a window, we did not appear in the windows reflection. Working around this was done by hiding artfully behind benches and street signs so just the camera part of the phone could be seen.
Another moment was when we realized how much time we had to wait for until it would be dark outside. This left us several hours of time to kill and it was clear that we should have scheduled our time more efficiently.
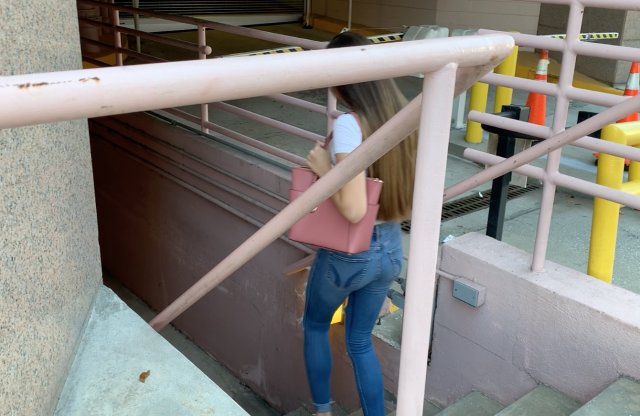
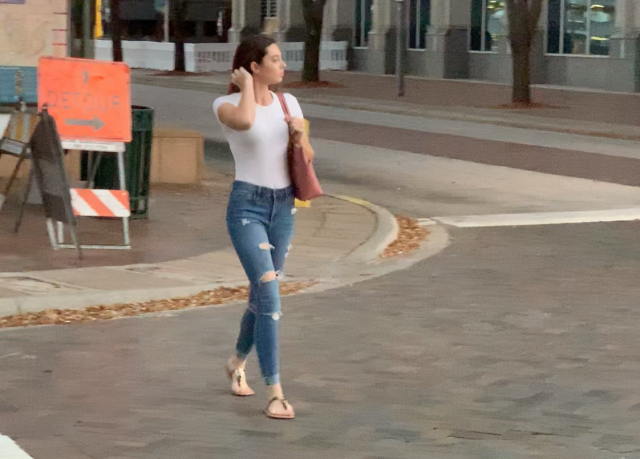
Continuity when filming was definitely something we had to adjust to, because there were lots of factors and variables that we had to keep consistent throughout production. For example, Jenna wore a bright pink purse in the first few shots, so for the rest of the day we had to make sure she did not put her purse down during filming. Also, if we filmed the same shot from several angles, the buildings in the background had to make sense with the shot as well.
Difficulties and Revisions
Difficulties
- The first difficulty we faced during the production process was learning how to properly work the microphone. If we wanted to record sounds of the wind or leaves rustling, we had to do it quietly or else it would blow out the mic.
- The amount of homeless people surrounding us was another major difficulty, because it made the set feel less safe and we had to figure out ways to avoid them.
- Among the types of shots needed, we wanted a few closeups of Jenna walking in order to show how intimidated she was. This was hard because in order to achieve a quality shot we had to quickly walk backwards while still keeping the camera steady.
- Recording for the right amount of time also proved to be hard, because we wanted to give viewers all the information they needed without recording for to long.
- Staying focused and shooting the clip in the right setting was also cause for a few slip ups. Several times my partner accidentally filmed what could have been an amazing shot in pan, then several times in portrait mode.
Revisions
- Even though our film crew began production with certain ideas in mind of how we would film our key shots, there were many things we ended up changing once it was realized that the shots would look better from a different angle.
- For example, when we filmed Jenna walking down the street, we originally planned to film her mostly from eye level. However, once we start experimenting with more creative angles, it became clear that there was a lot more we could do with cinematography, such as low and high angle shots, in order to entertain viewers.
- While we did not plan to have a creepy sound play right before the kidnapping scene, we realized that recording the dropping of a heavy stick onto the pavement made a perfect echoing noise. We added the stick falling to make it cohesive and she will be off guard, and to show that she doesn’t notice her stalker hiding.
